

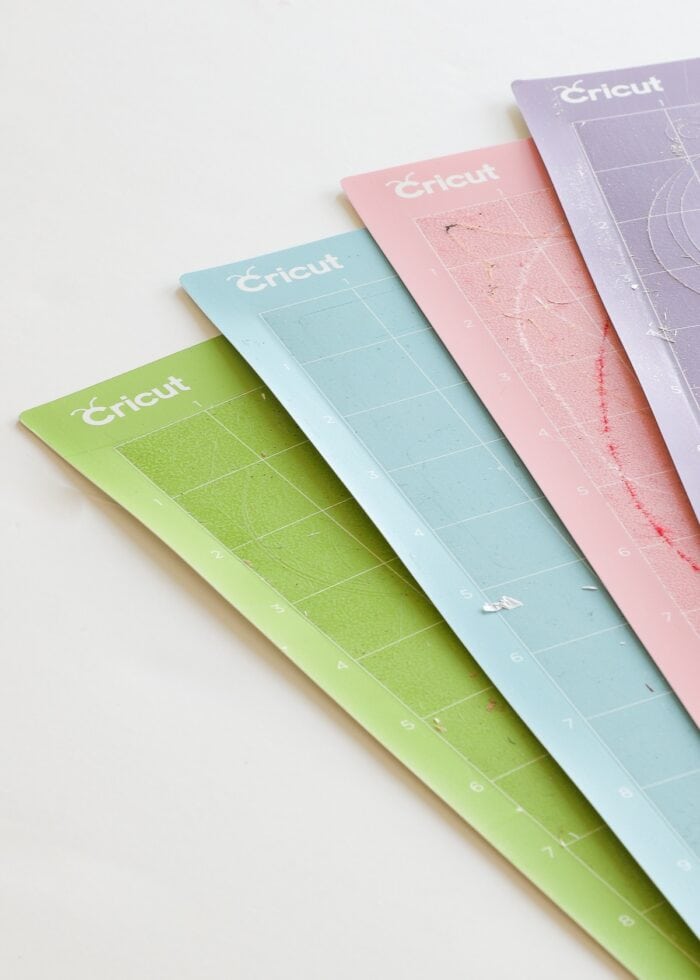
How To Repair Cricut Cutting Mat
Without a doubt, the most exasperating part of using a Cricut car is when yous unload the mat to find your cuts messy or not all the way through. Ohhhh…the frustration is Existent! And while most crafters instantly assume the machine's Fine Point Blade is to blame; more often than not, the problem is really with the cutting mat. Today I desire to talk almost the importance of using really mucilaginous mats on your Cricut projects and share some quick and piece of cake ways to both clean and re-stick Cricut mats and then your projects turn out right every fourth dimension…without the frustration!

When Your Cricut Isn't Cutting Clean…
Nosotros've all been in that location:
- You pattern your projection with all the perfect details.
- You spend forever picking out just the right color newspaper, vinyl, etc.
- You lot prep your mat, load it into the machine, press Go, and so eagerly look with anticipation….
Just to have your project come out horribly cut and imperfect.
If you're anything like me, having to re-load and re-cut a project is bluntly maddening (especially when I'm short on fourth dimension, materials, or both!) When this happens, most of the states are quick to change either the blade or machine pressure. But there's actually 1 thing you should e'er check and remedy first : the mat.
Love them or hate them… proficient, sticky mats are imperative for your projects to cut perfectly . If the cutting mat does non securely hold the material in place, it can (and volition) wiggle around, sometimes imperceptibly. When this happens, the blade won't perfectly elevate through the cloth, resulting in incomplete or messy cuts. No amount of pressure or a fresh blade will give you lot perfectly clean cuts with a tac-less mat.
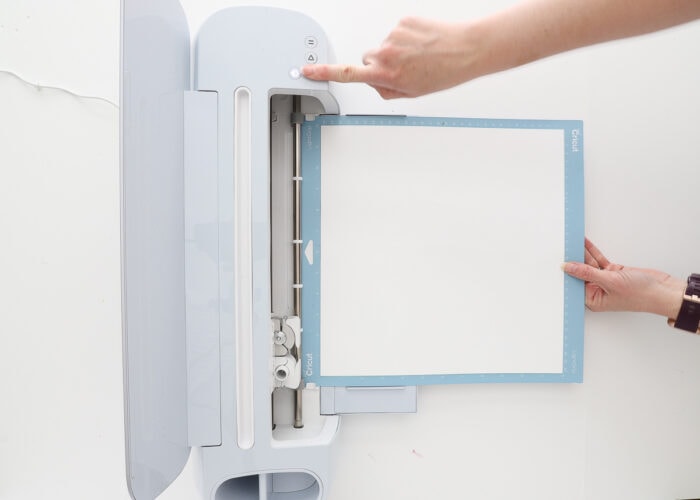
But earlier yous run off to the store to supersede all your mats, there are some quick, like shooting fish in a barrel, and quite constructive things yous can practise (with items already in your craft room!) to clean and re-stick Cricut mats!
Proactive Cricut Mat Intendance
First…let's talk nearly taking care of our mats before we get to "fixing" them. Ever heard the phrase "An ounce of prevention is worth a pound of cure"??? Information technology definitely applies here!
The meliorate you lot have care of your mats during your everyday crafting, the longer they will terminal you.
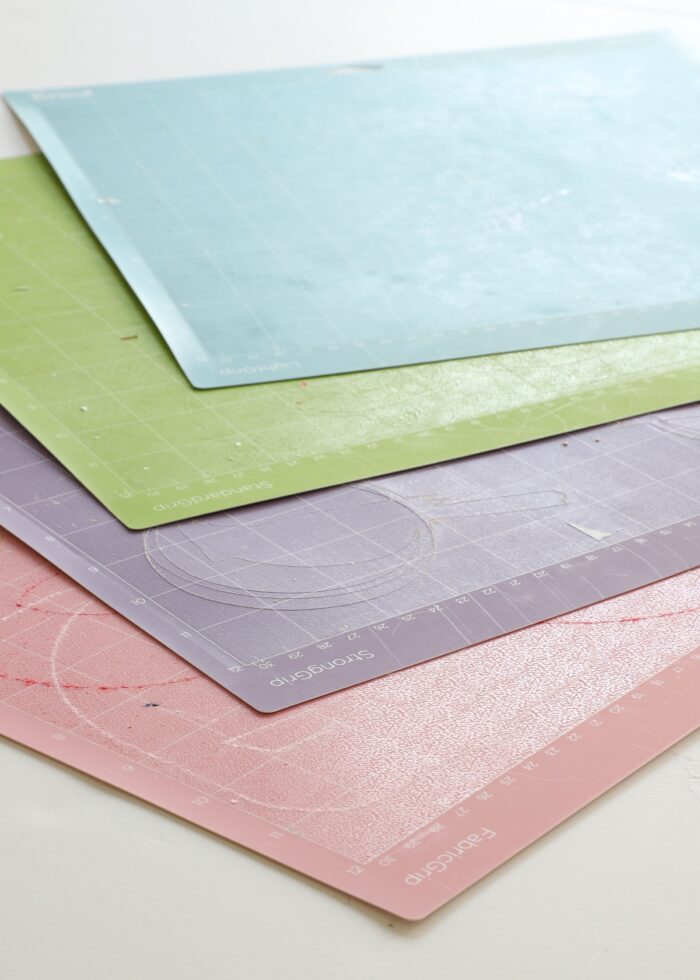
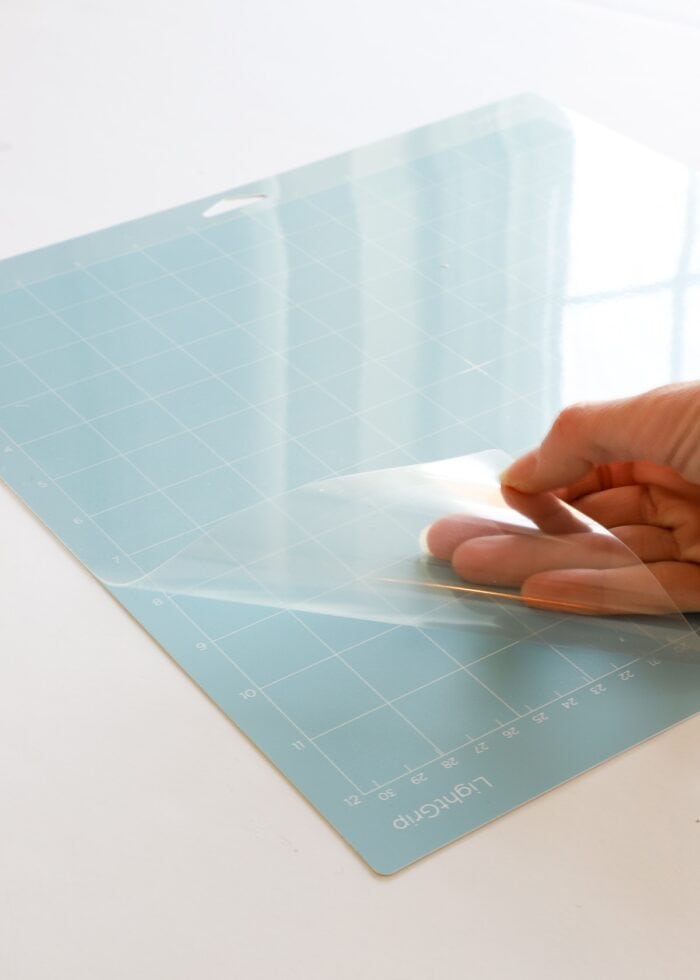
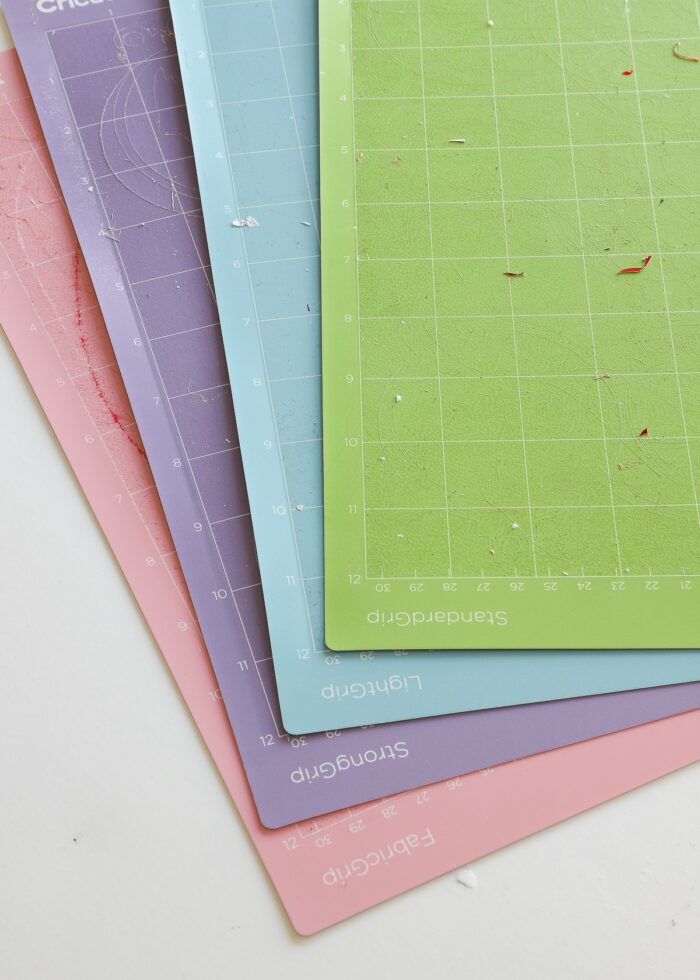
The Protective Plastic Sail
Every single Cricut mat…from StandardGrip and LightGrip to FabricGrip, StrongGrip, and even the Card Mat…comes with a articulate protective sheet. These sheets aren't only for shipping or retail packaging…they are intended to exist kept and used during the entire lifecycle of your mat.
These plastic sheets serve two primary purposes:
- They cover and protect the adhesive surface of the mat so that they don't stick to other things when the mats aren't in use. These sheets ultimately allow you to stack mats on meridian of each other, place them in baskets, on shelves, etc.
- Additionally, they forbid environmental grit from sticking to your mat. Leaving your mats exposed and uncovered causes them to collect grit, which will reduce their stick more quickly.
Whenever your mat is not in use, take care to always supervene upon the protective sail. If you damage or lose the sheet (they are crystal clear after all, and quite easy to misplace!), use a piece of clear contact paper or thin scrapbook paper instead (although this isn't as ideal since the paper will "pill" only a flake onto the sticky surface.)
After Every Apply
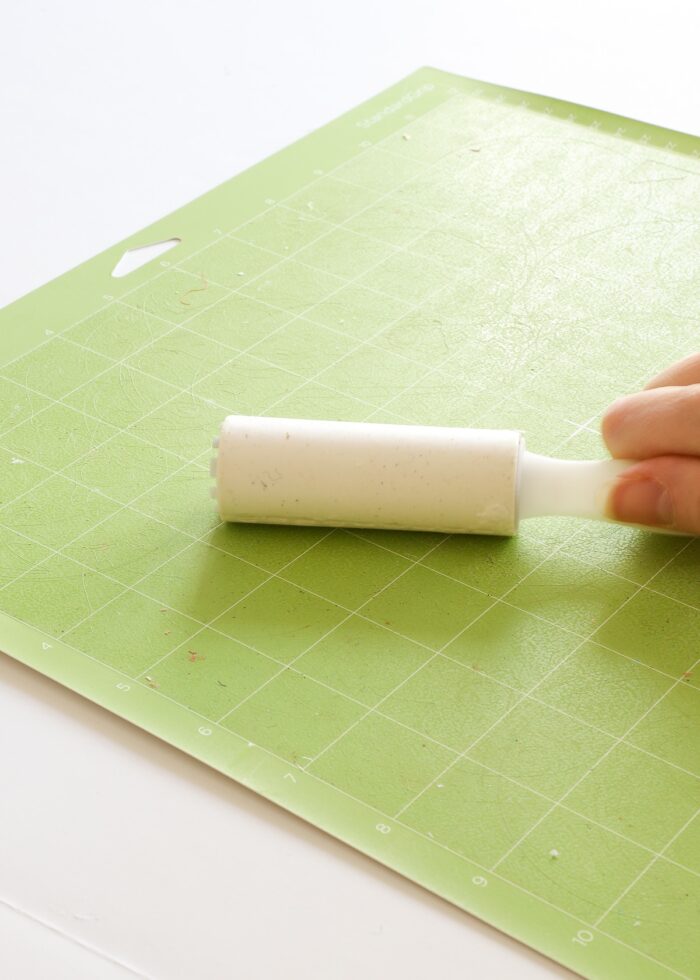
Every time you run a mat through your machine and unload materials, get into the addiction of doing some "lite cleaning." Although many materials will come off perfectly, if you ever have lots of debris left behind from cardstock or the newspaper backing on vinyl, utilise the Cricut scraper tool, a lint roller, or even a sturdy plastic gift card to remove as much as you can.
Not only exercise (very) piddling scraps of paper bear upon the overall stickiness of your mat, but they can create an uneven cutting surface which also leads to imperfect cuts. You don't need to apply the more "aggressive" cleaning techniques I outline beneath every time, simply always scrape or brush abroad obvious scraps earlier storing your mats or running another project.
How to Clean Cricut Mats
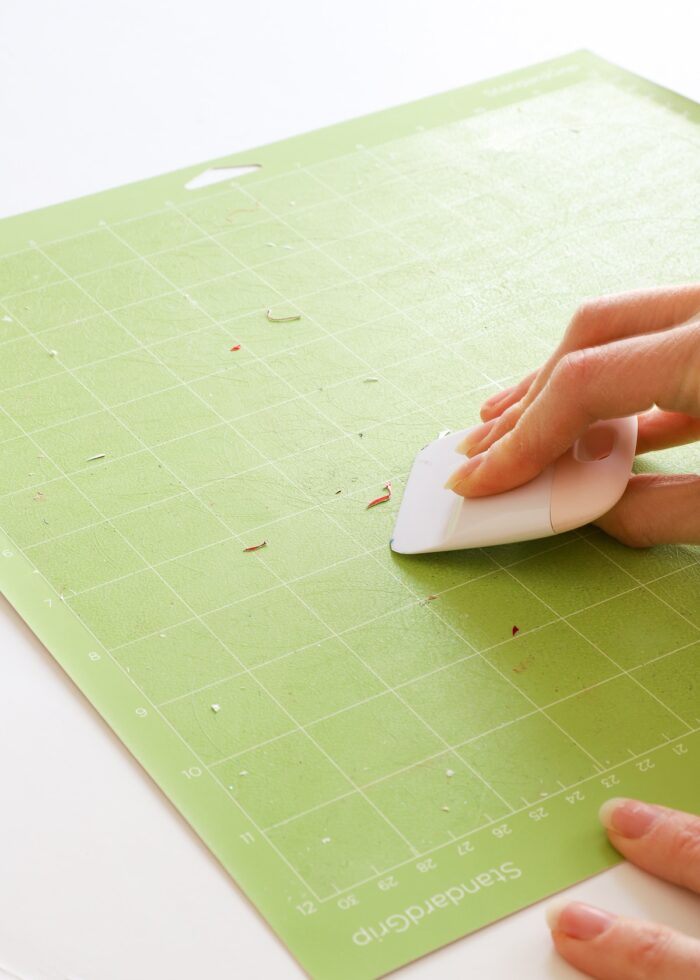
Even with solid mat care habits, you volition somewhen find yourself with less-than-sticky mats (and LOTS of frustration!). In an effort to restick Cricut mats and get back to perfect cuts, your very first step should always exist to requite them a good cleaning in a higher place and across what's discussed higher up. Although Cricut cutting mats accept a sticky surface, at that place are several like shooting fish in a barrel and effective ways to remove built-upwardly lint, debris, and other gunk…and cleaning lonely tin can often restore their tackiness!
I diligently scrape off my mats after every utilize; only the picture higher up demonstrates that over time, there volition nonetheless be a considerable build up of tiny paper and fabric scraps. So before you movement ahead with thoroughly cleaning your mat(s), re-run a scraper or lint roller across them to remove larger chunks.
Clean Your Mats With Baby Wipes
While some Cricut fans advocate rinsing your Cricut mats with dawn dish lather, warm water, and a sponge or using Awesome Cleaner, I've personally never found these methods necessary or all that effective. Instead, I prefer to clean my mats with booze-free infant wipes. With a fresh wipe, work in a circular motility around the entire surface of the mat to remove finer pills of newspaper and remainder.
TIP! Don't take baby wipes on mitt? Use a paper towel saturated with soapy water.

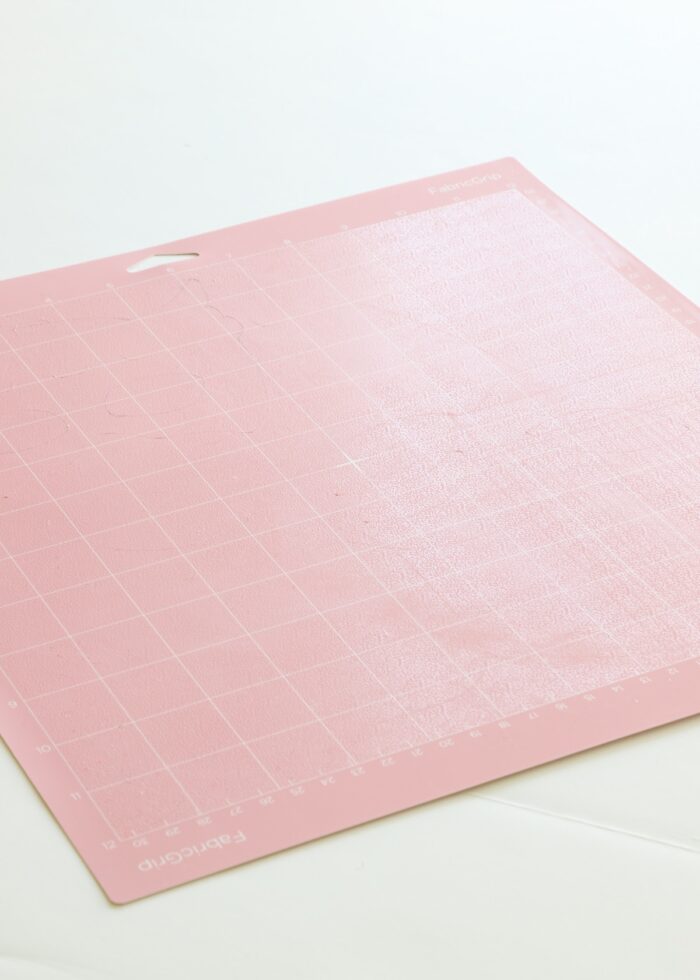
The FabricGrip Mat for the Cricut Maker is notorious for leaving behind threads and pills, especially felt. Just take a look at how clean I was able to get my mat with but a babe wipe and some lite scrubbing.
The baby wipes do a great job of pulling up debris and residue while keeping the agglutinative coating on the mats in tact. In fact, one time you let the cleaned mats fully air dry, there's a good chance they will be pasty plenty to use without the re-sticking trick I outline below.
How to Re-Stick Cricut Mats
Heavily used mats, no matter how clean you get them, volition sometimes only not accept enough tackiness left to piece of work properly. In these instances, you can use a variety of craft adhesives to make a Cricut mat sticky again.
Spray Adhesives
After years of trying different tricks, my absolute favorite mode to re-stick Cricut mats is to use spray adhesives.
Hither is what y'all need:
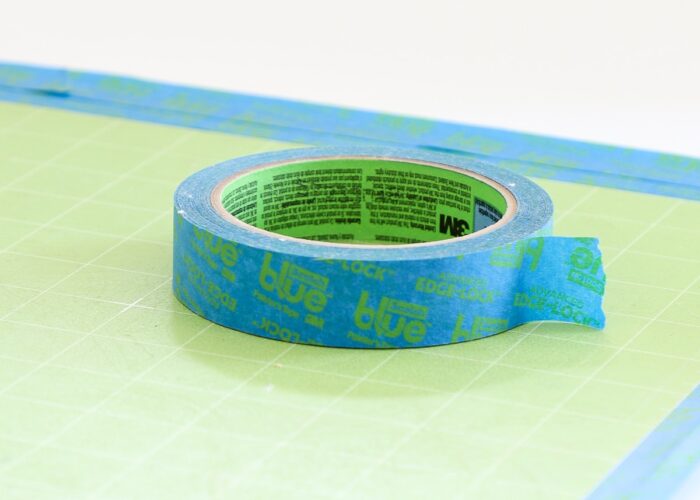
- Painter's Record (or masking record)
- Spray Adhesive (all of these will work nifty)
- 3M General Purpose
- Loctite
- Krylon Like shooting fish in a barrel Tack
- Quilt Basting Spray
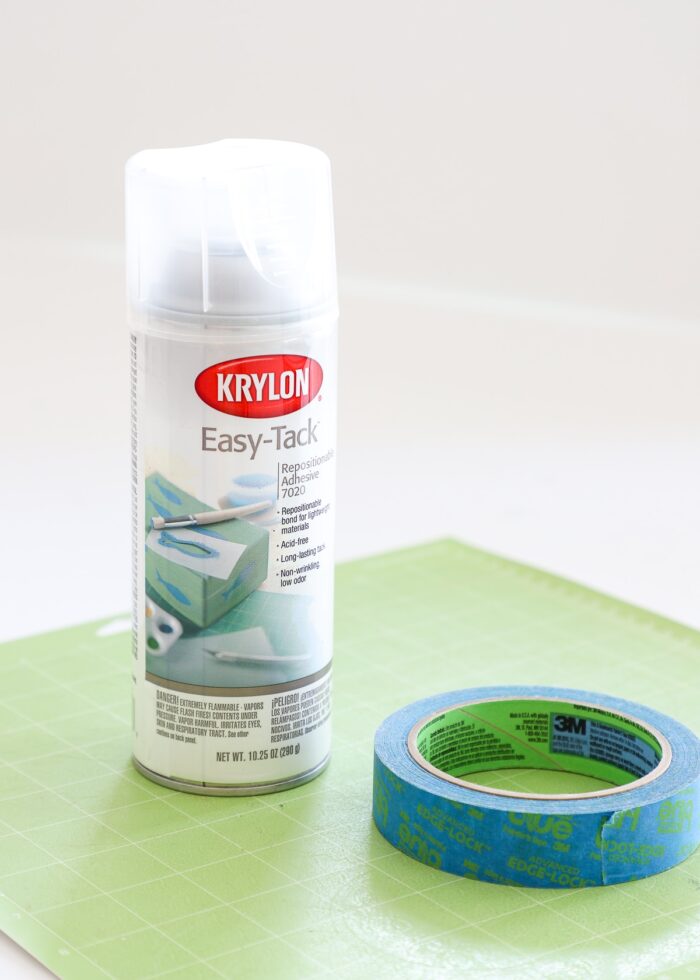
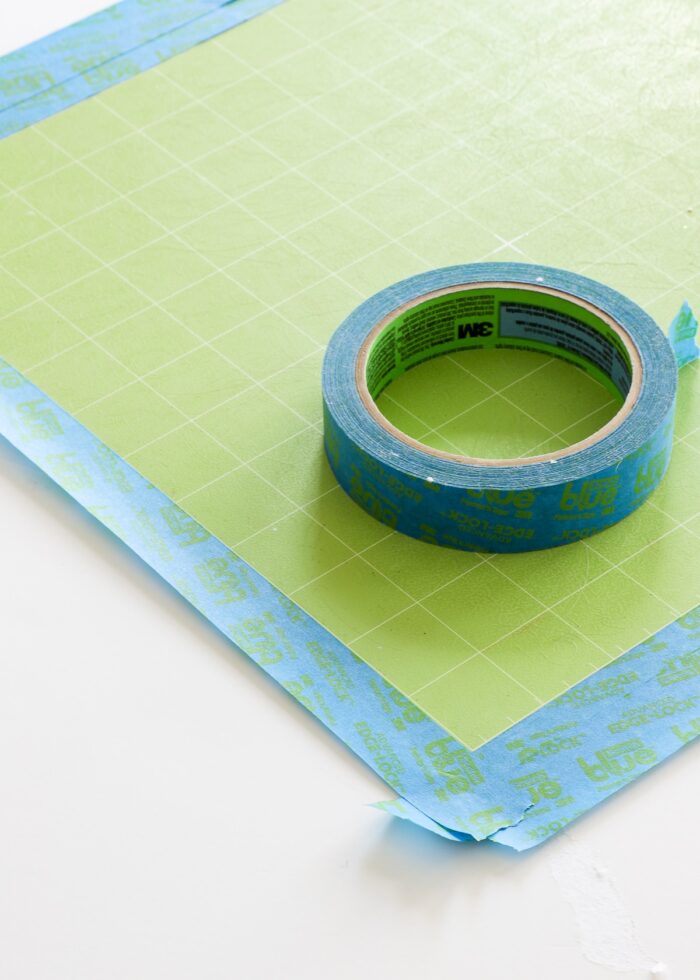
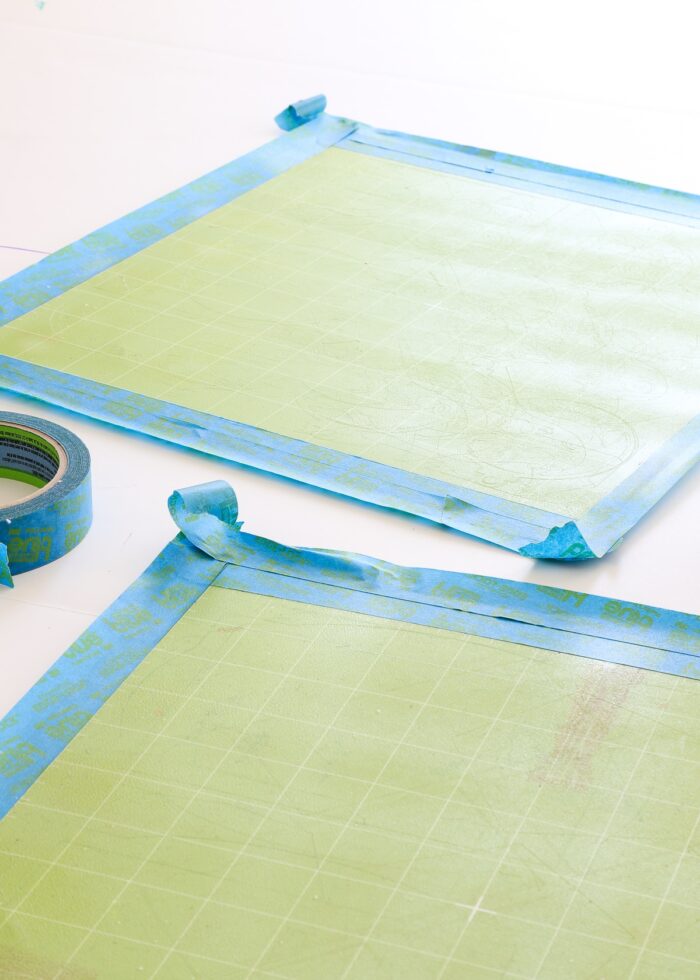
Kickoff by using the painter'south tape to cover up the perimeter of the mat, lining upwardly the tape with the outside of the white printed filigree. This ensures no agglutinative lands on the parts of the mat that feed nether the automobile'southward rollers. If these border areas get sticky, it (negatively) affects how the mat moves in and out of the auto (and therefor, how your design cuts).
Next, motility outside (if necessary) and spray your mat(s) liberally with spray adhesive. If you use Quilt Basting Spray or Easy Tack, you can replace the protective plastic sheets or start using the mats correct away.
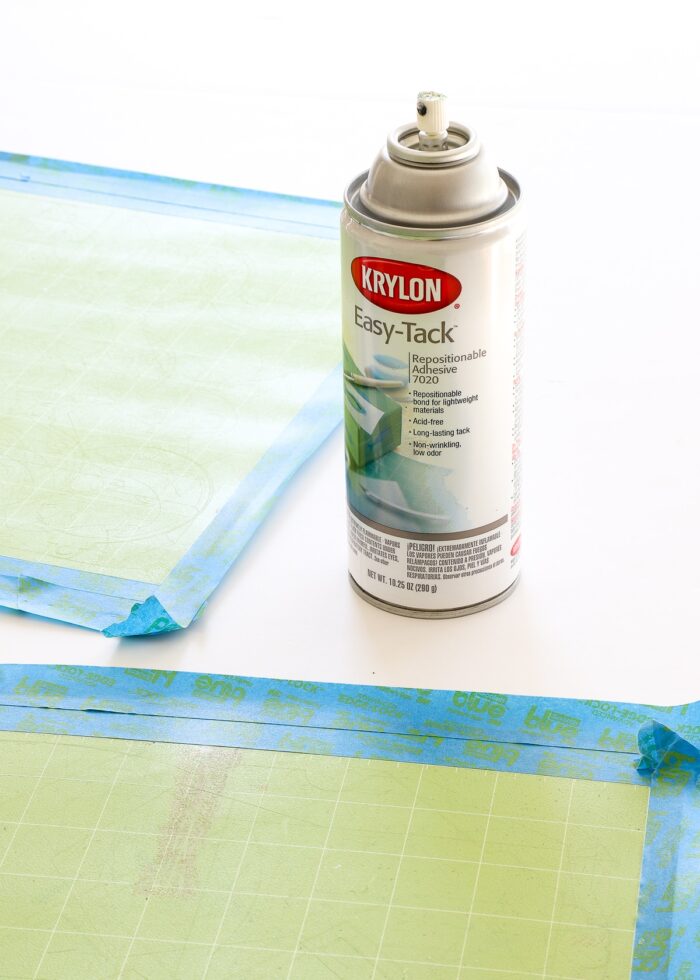
If you used stronger (permanent) sprays, permit the adhesive dry for a few minutes to lessen the tac before using/storing. Although you want your mats viscous enough to agree materials tight, you besides don't want materials permanently adhered.
What Else Can You Utilise to Re-Stick Cricut Mats?
I always have several cans of spray adhesive on hand; but if you're reading this in a pinch and y'all don't, there are some other adhesives y'all can use to re-stick Cricut mats.
With these types of glues, you will need to apply them liberally beyond the unabridged surface of the mat (except the perimeter) and then permit them fully dry before using/storing:
- Zig 2-Way Glue Pen
- Tombow Multi-Purpose Liquid Glue
- Aleene'south Tack-It Over & Over Liquid Gum
It'due south Okay to Buy New Mats
Finally, I want to remind you that inevitably…if you use your Cricut machine a lot…you lot will likely accept to buy new mats at some point. For as much equally I craft (both for the weblog and personal use), I will doeeevverythingI can to keep my mats going, usually way longer than I need to. And so when I finally break down and purchase new mats, I'm always and so surprised by how much better they actually do piece of work! If you detect yourself having to clean and restick your mats every few cuts, it's time for some fresh mats. Watch for Cricut "stockup" sales and snag bulk sets when they are one-half cost!
Whether you're reading this in a compression because your project isn't cutting well or are just looking for creative ways to extend the life of your mats, I hope the tips and tricks I've shared here today help. By taking good intendance of your mats and using some simple methods for cleaning and resticking them, I recall y'all'll discover you tin extend their life much longer than you think!
See You Before long!
Megan

Source: https://thehomesihavemade.com/clean-restick-cricut-mats/
Posted by: russellgremess.blogspot.com
0 Response to "How To Repair Cricut Cutting Mat"
Post a Comment